How to Paint a Room: Step-by-Step Guide

7008412259 • June 5, 2025

How to Paint a Room?

Painting a room is one of the fastest and most affordable ways to transform a space—but only when it’s done right. Whether you're refreshing a bedroom, updating a kitchen, or brightening a home office, following a proven process makes all the difference between a clean, professional result and a time-consuming headache.

At Mendez Painting, we've painted hundreds of homes throughout the North Metro Area, and we know what it takes to get flawless results. If you're tackling this project yourself, here's our expert-backed step-by-step guide—along with insight into common pitfalls that often lead homeowners to call in the pros.


Step 1: Prepare the Room

Before you open a paint can, get the space ready:

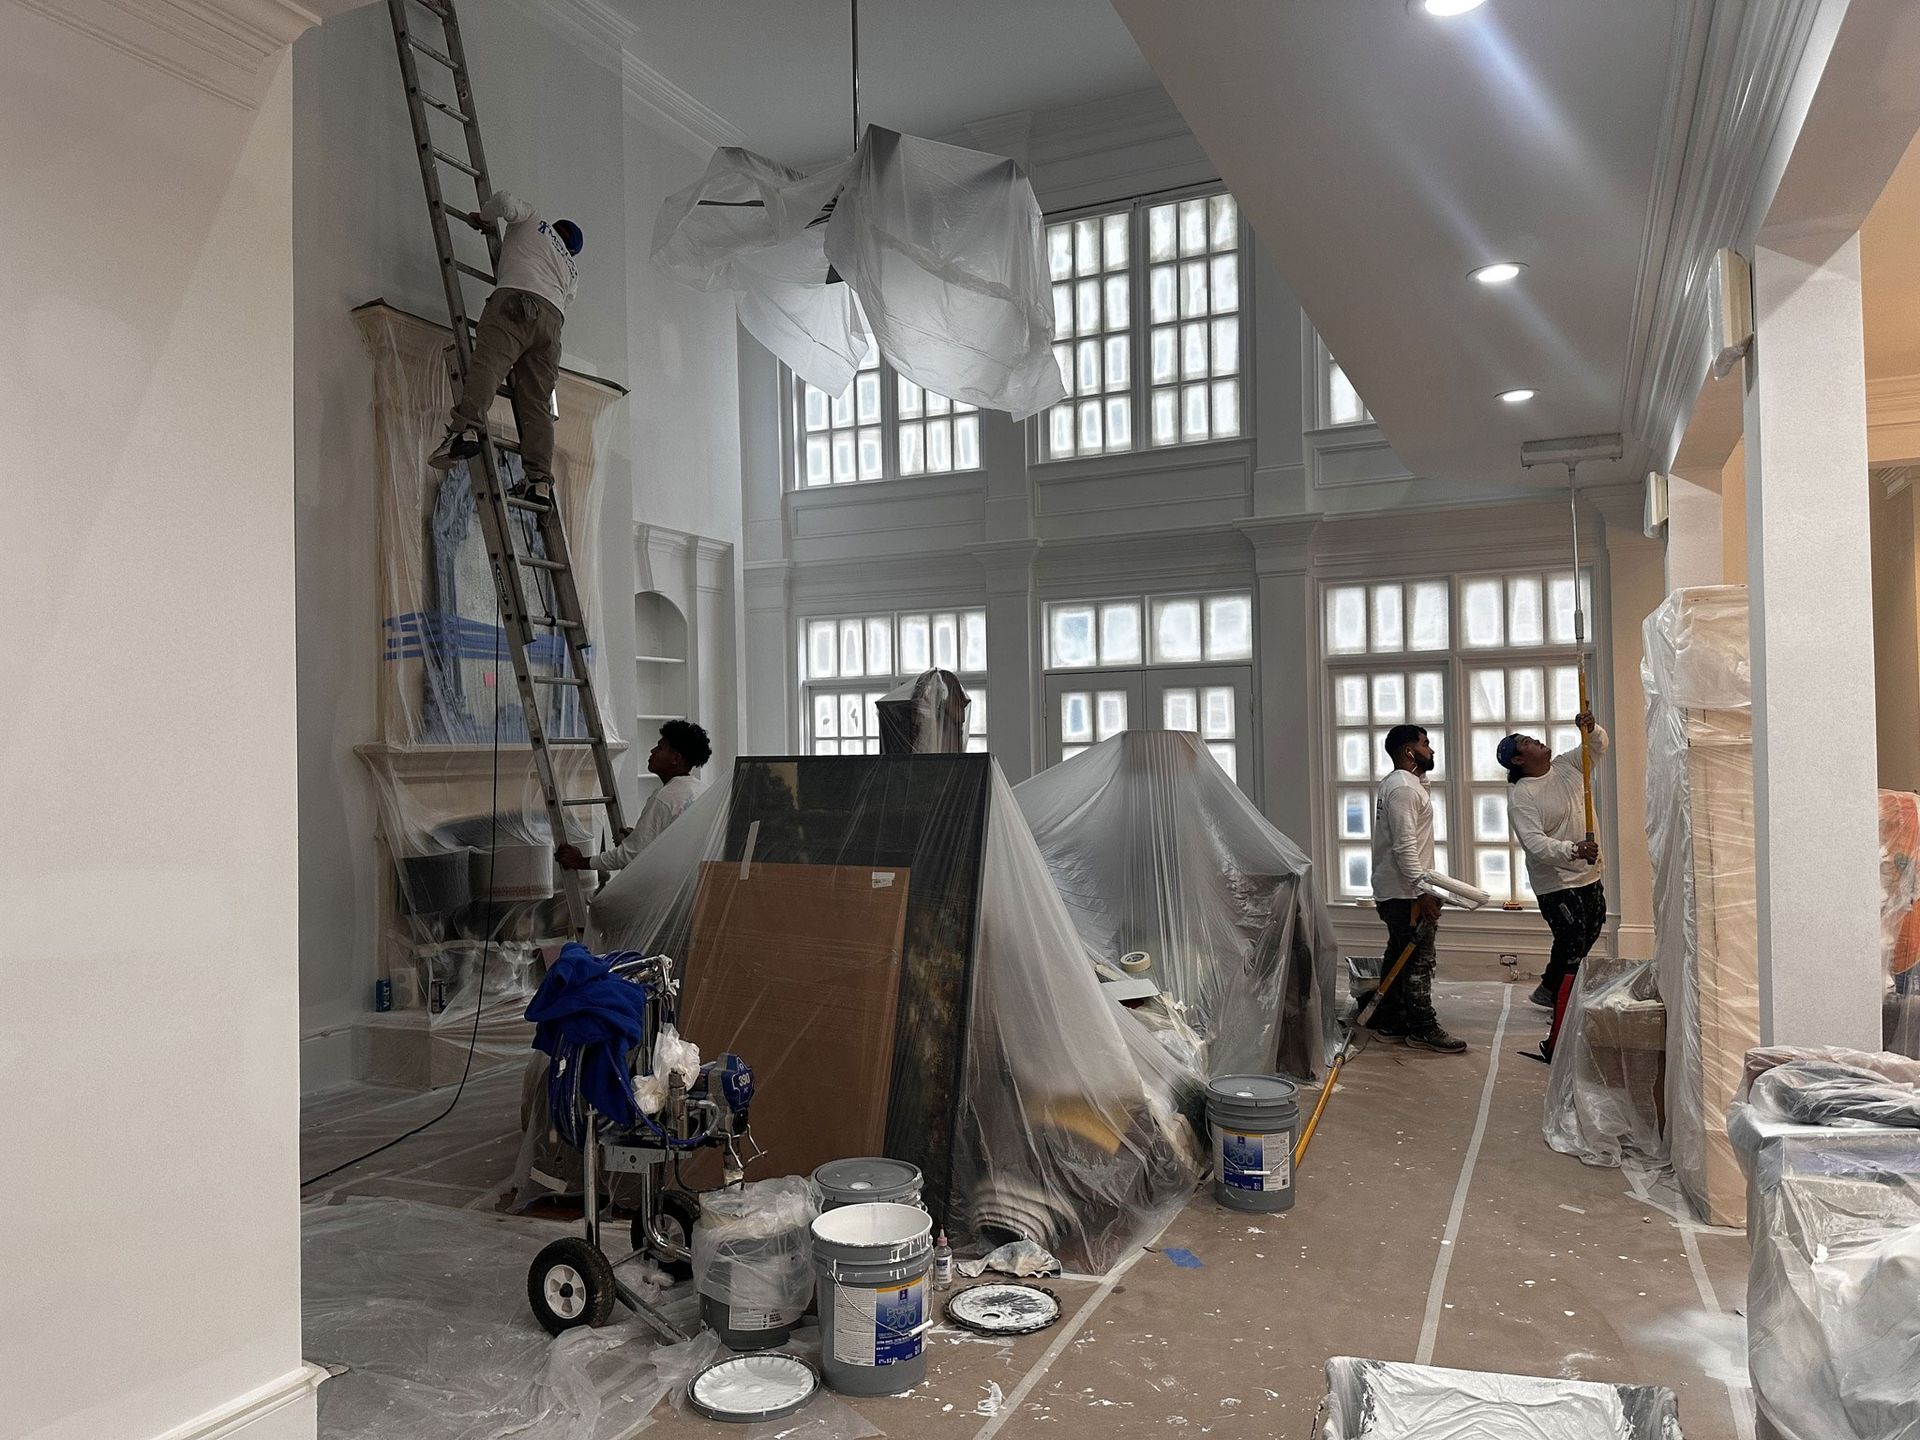
  • Move furniture out of the room or to the center—carefully.
  • Cover floors and furniture with drop cloths or plastic sheeting.
  • Remove outlet covers, switch plates, curtain rods, and wall hardware.
  • Use painter’s tape to mask off windows, trim, baseboards, and ceilings—if you're confident in your taping.

Heads up: Even something like a bed may require multiple people to move safely. Dragging furniture can damage floors, and moving large pieces the wrong way can crack or weaken bed frames. If in doubt, ask for help—or leave it to a crew like ours that comes prepared.


DIY Tip: Tape helps only if applied with precision. A steady hand and high-quality brush often outperform rushed tape lines.


Step 2: Repair Walls and Ceiling

A smoother surface = a smoother finish.

  • Fill nail holes, cracks, and dents in both walls and ceiling.
  • Sand all patched areas smooth once dry.
  • Prime repaired areas—or the full surface—especially if you're covering dark or bold colors.


Pro Insight: Nothing is perfectly smooth, but imperfections show through

paint fast. The better the prep, the better the result.


Step 3: Paint the Ceiling (If Needed)

Once everything is repaired and prepped:

  • Use flat ceiling paint to reduce glare and hide flaws.
  • Cut in edges with a brush, then roll in sections using a long-handled roller.
  • Keep a wet edge to prevent roller marks or lines.


Real Talk: Ceilings are tough—messy drips, neck strain, and splatter are

common. This step alone makes some homeowners rethink DIY.


Step 4: Cut In the Edges

This is where things get real.

  • Use a quality angled brush to “cut in” along ceilings, corners, trim, and baseboards.
  • Work in sections and maintain a wet edge to avoid lap marks and streaks.


Why it matters: Uneven brush pressure and poor technique can leave visible

marks—especially where they’re hardest to fix.


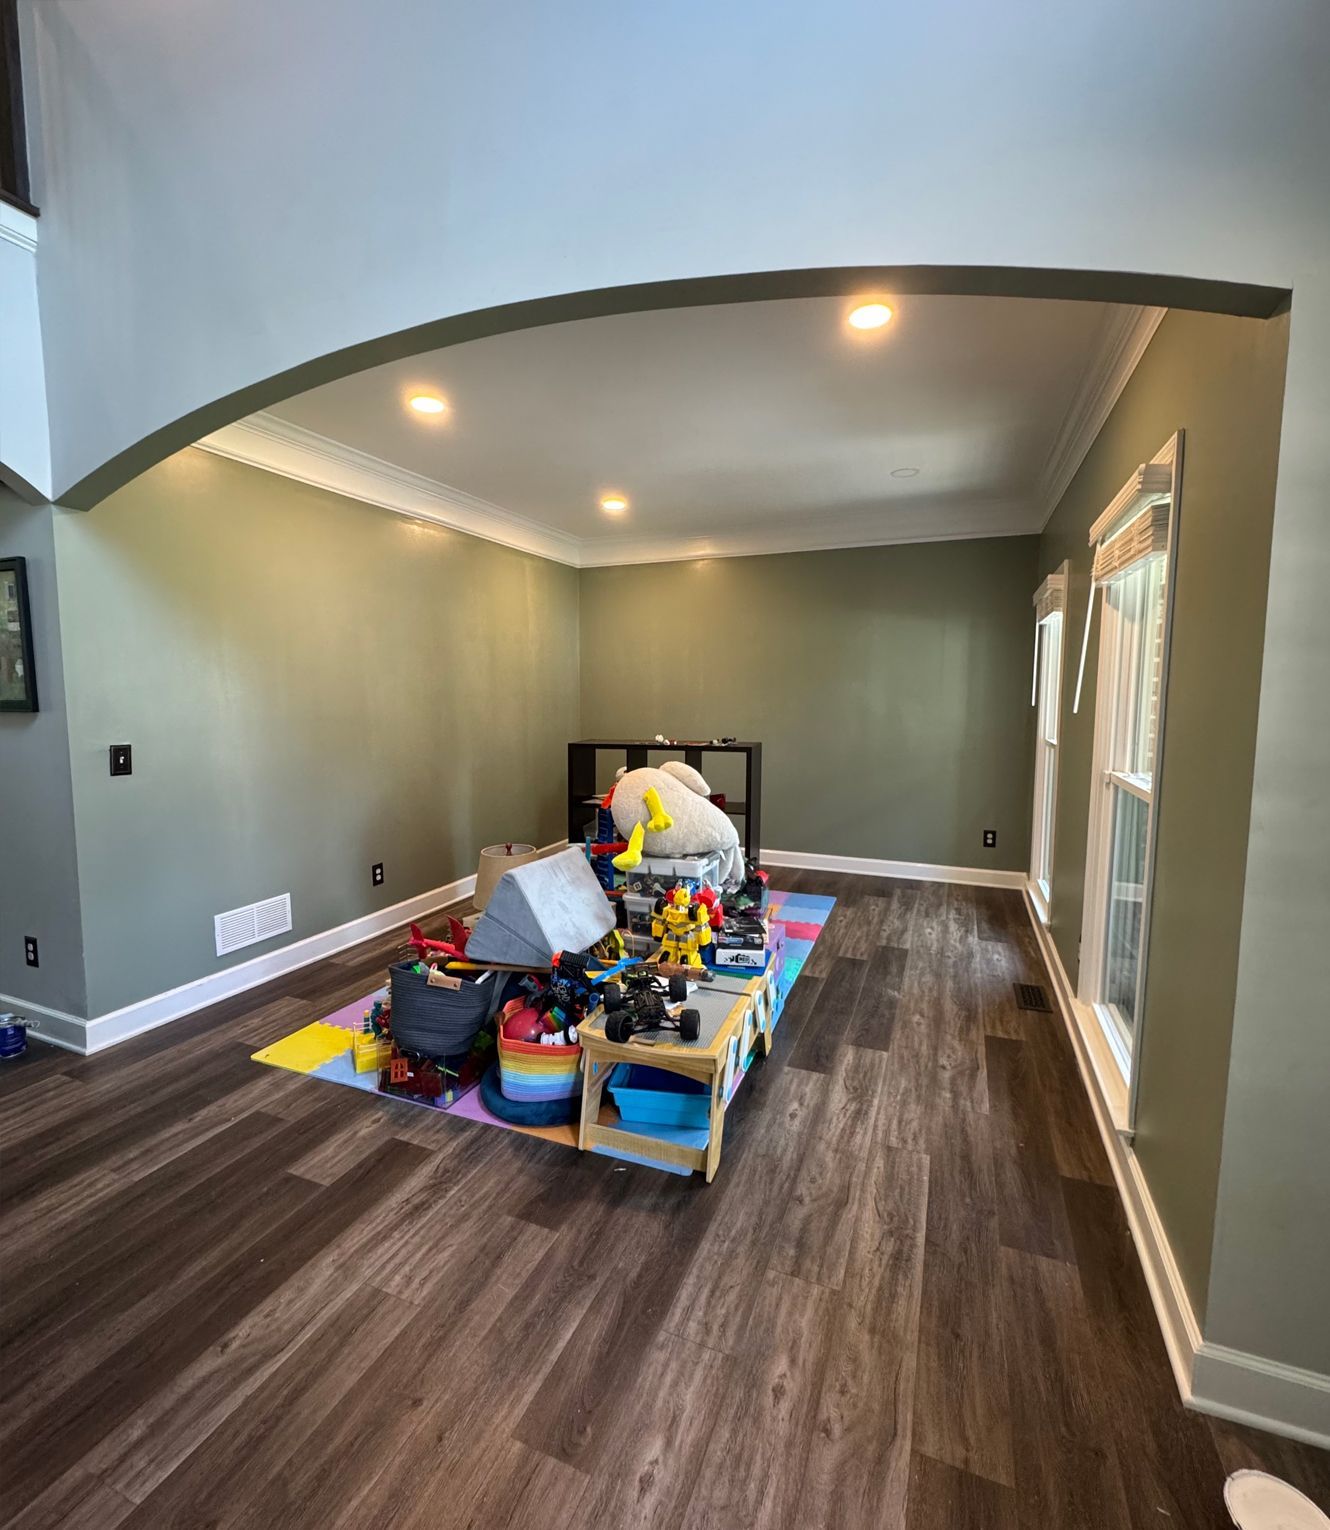
Step 5: Roll on the Walls

Now it’s time to cover the walls.

  • Use a roller for large areas. Start in a zigzag (“M” or “W”) motion, then fill in for even coverage.
  • Apply two coats, letting the first coat dry fully before adding the next.


Homeowner Tip: Drips happen easily—and if they’re not caught and smoothed immediately, they’ll dry into the wall permanently. Even sanding might not fix it. Thin, controlled coats take longer, but give a cleaner finish and fewer regrets.


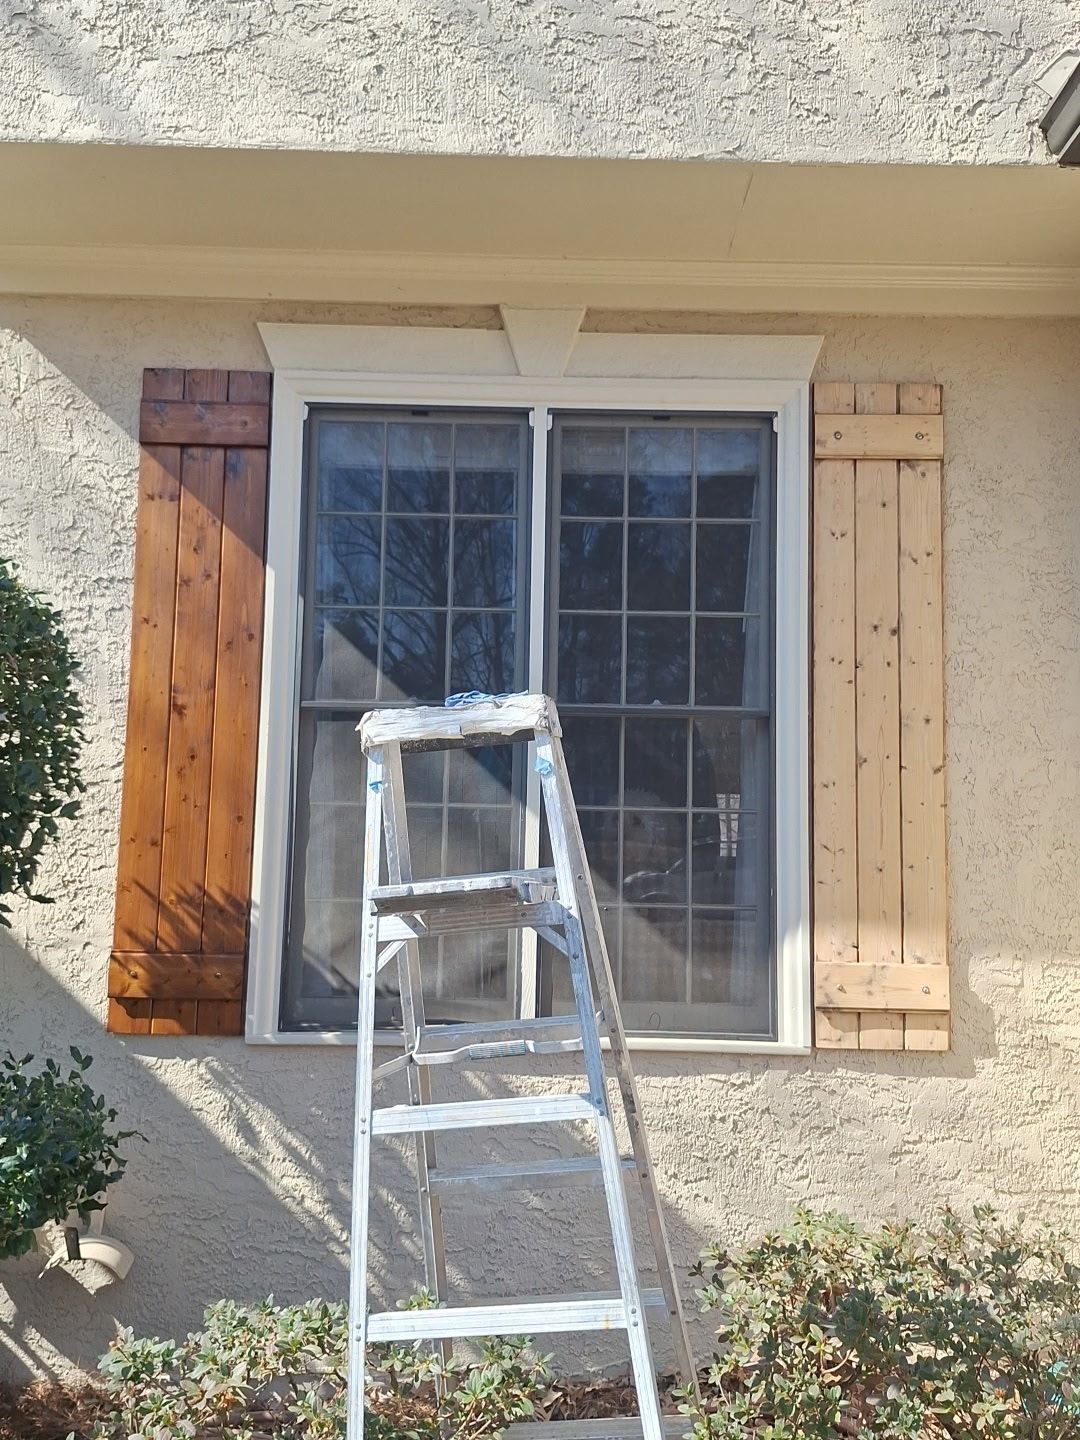
Step 6: Paint the Trim (Optional)

Once walls are fully dry:

  • Use a small angled brush for baseboards, doors, window trim, and crown molding.
  • Semi-gloss or satin finishes work best for durability and cleaning.
  • Tape off the wall carefully, or freehand with precision.


Trim shows everything. Tape bleed, shaky hands, or the wrong brush can undo a solid paint job.


Step 7: Remove Tape (If Used) and Touch Up
  • Peel painter’s tape at a 45-degree angle before the paint fully dries to avoid peeling.
  • Use good lighting to inspect your work and touch up any drips, gaps, or uneven edges.


Step 8: Clean Up
  • Clean brushes and rollers based on your paint type (latex vs. oil-based).
  • Seal leftover paint properly and label for future touch-ups.
  • Reinstall outlet covers, curtain rods, and furniture once everything is fully dry.


Thinking Twice About DIY Painting?

Painting sounds easy—until you're halfway through and juggling prep, splatter, cut lines, drip control, drying time, and cleanup. It’s a lot more work (and risk) than most people expect.


Let Mendez Painting Handle It

We bring:

  • Smoother surfaces, sharper edges, and finishes that last
  • Professional tools and expert techniques
  • Fast, clean, and stress-free results
  • Trusted service across the North Metro Area


Contact Mendez Painting Today

Call or text us for a free estimate and let our team bring your vision to life—without the mess, guesswork, or stress. Whether it’s one room or the whole house, we’re here to deliver the quality your home deserves.

How to Paint a Room: Step-by-Step Guide
By 7008412259 May 2, 2025
Fading is one of the most common issues we see when it comes to exterior paint wear. It's something every homeowner should be aware of—especially when planning a repaint or selecting colors. So, what exactly is fading? In simple terms, it’s the gradual discoloration or lightening of a paint color over time. And here’s the honest truth: no paint—regardless of brand or lifetime warranty—can completely prevent it. Even those heavily marketed “lifetime” paints don’t come with a fading guarantee, despite what the label might suggest. What Causes Fading? The biggest culprit? The sun. UV rays are relentless and can wear down pigment over time. Other factors that can contribute to fading include: Constant water exposure in specific areas (like under gutters or where water consistently runs off). High humidity in shaded areas, which is less common but something Mendez Painting has seen firsthand. Why Color and Finish Matter Not all colors fade the same. Darker colors tend to fade faster because of their pigment makeup—they absorb more light and break down more quickly. On the other hand, lighter colors tend to reflect sunlight, making them much more resistant to noticeable fading. Another layer of protection? Satin or gloss finishes. These sheens offer more durability and resistance to UV exposure than flat paint. However, keep in mind—not all finishes are suitable for all surfaces. If satin isn’t a fit, gloss might be—and vice versa. Choosing the right one depends on the material and look you’re going for. What You Can Do While you can’t stop fading entirely, you can make smart choices to help extend the life and look of your paint job: Avoid dark colors on highly exposed areas. If you’re set on using a darker shade, consider a satin finish to add some extra durability. Work with experienced professionals (like Mendez Painting) to evaluate your home’s layout, exposure, and surface type to make the best long-term choices. At the end of the day, it’s about being informed—not falling for marketing hype. Mendez Painting is here to give you honest advice that works in the real world—not just on the label
By 7008412259 May 2, 2025
Mendez Painting has had the opportunity to work with Bill for almost 20 years—we first met back in 2008. The introduction came through a Sherwin-Williams rep at the time. From the very beginning, Bill was a strong advocate for Duration paint. Mendez Painting has never had an issue with Duration or Emerald, but in our experience, there’s no real advantage to using them—aside from paying more. They don’t necessarily offer more longevity or a better finish compared to other options. Over the years, Mendez Painting completed several properties for Bill using Duration paint. About five years after the first job, Bill realized he wasn’t seeing any extended lifespan from using it. That’s when he and Mendez Painting agreed to switch to SuperPaint, 25 year paint by Sherwin Williams. Not only did it perform just as well, but it also helped save him money. Funny story—in March of 2025, Mendez Painting worked on the exterior of Bill’s personal home. His house is 20 years old, and he had always been proud of the paint job it received when it was first built. He asked what paint was being used, and for a moment there was some confusion on our side—especially since he had always insisted on Duration. So the team at Mendez Painting and Bill took a look at the original records. Sure enough, the house had originally been painted with SuperPaint. That was a turning point for Bill—no more overpaying for a name. Don’t let paint manufacturers mislead you with promises of “lifetime” paints. Mendez Painting's Recommendation: For exteriors, Mendez Painting recommends SuperPaint. After more than 25 years in the business, Mendez Painting has seen the evolution of paint technology—and also the evolution of marketing strategies designed to boost profits. The truth is, the surface you’re painting on makes the biggest difference—not just the paint itself. The paint is only as good as the surface it’s applied to. Here’s some helpful info to guide your decisions: Best Materials for Holding Paint: Hardie Board and Paintable PVC: These surfaces hold paint extremely well. Watch out for: Fading, which affects all paints (especially darker colors). Lighter colors and a satin finish will resist fading better. For example a lighter color and satin finish would be 2 pros against fading while a satin finish paired with a darker color will give you 1 pro and 1 con. Second Best: Stucco / Brick Stucco Stucco holds paint very well over long periods of time. Tip: Avoid satin finish on large stucco areas—it tends to highlight inconsistencies. Use flat paint for a cleaner, more uniform look. Note: Stucco is sensitive to texture changes. Any repairs will be visible. Recommendation: Use SuperPaint in a flat finish for exterior stucco. Brick Painting brick is perfectly fine—brick is also one of the best surfaces for holding paint. Key tip: The only time you may run into issues is if there are existing problems like persistent water runoff or leaks. These are not paint-related issues—they’re pre-existing and should be addressed first, if possible, though at times it may not be architecturally possible to correct before painting. Two Painting Systems for Brick: 1. Waterproof System – Recommended by Mendez Painting Loxon Primer + SuperPaint (Satin or Flat) This creates a sealed surface. Water or humidity stays on top and doesn’t penetrate. Recommendation: Use Satin for a longer-lasting, more protective finish. 2. Breathable System . Loxon Primer + Loxon Finish This allows humidity to pass through the coating and brick, helping moisture escape. Recoating Recommendation: For brick, Mendez Painting recommends recoating every 6-7 years to maintain the finish and prevent moisture damage. Note: The Loxon Primer is only necessary for bare brick. If the brick has been previously painted, it does not require a primer. Garage Doors: These take paint well and maintain their look for years. Main concern: Fading. Recommendation: Use a gloss or satin finish for durability and appearance. Use Superpaint Wood Trim (around windows, upper roofs, etc.): High-maintenance surfaces. Require regular upkeep: pressure washing and touch-ups every 2–3 years to stay in good condition. Metal Roofs: High-maintenance due to extreme summer heat and fading from sun exposure. Recommendation: Repaint every few years to maintain appearance and protection. Remember to not fall for the marketing trick of “lifetime” paint. By understanding the materials being painted, you can make better-informed decisions—not just rely on marketing claims. Mendez Painting is here to help customers get the most out of their investment—honestly and professionally.
More Posts →